



How Does Hypnotes Work?
1. Register / Login
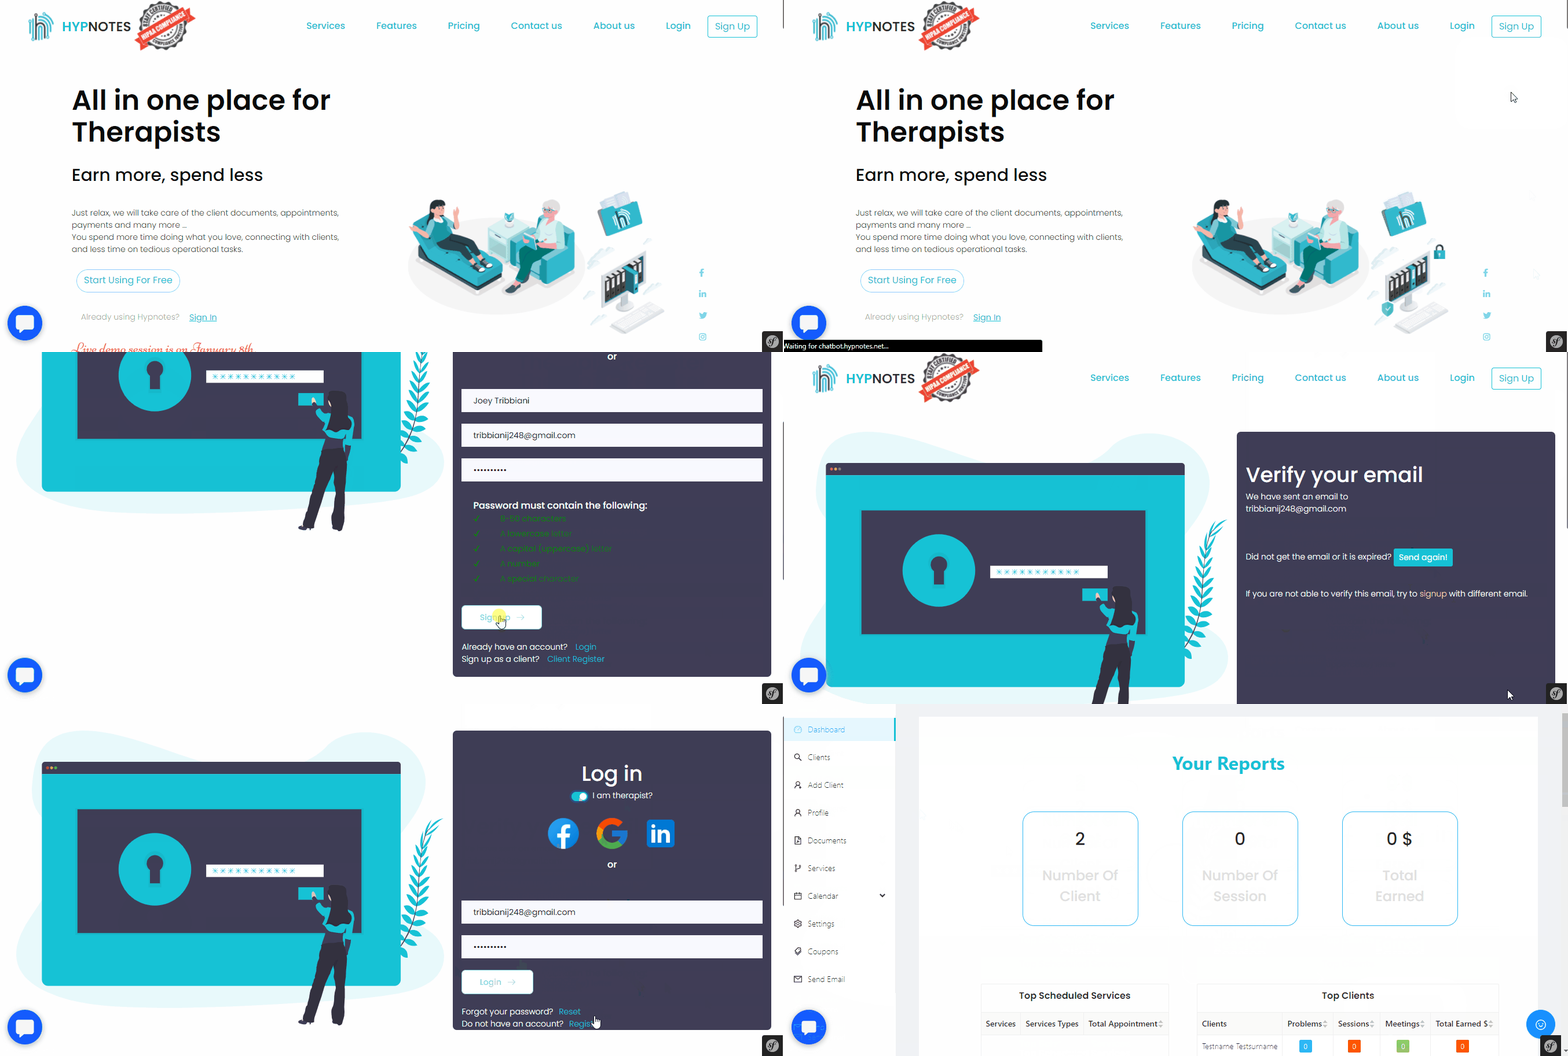
To register, please go to the register page and follow the step to register. You can use your social media accounts to register or you can manually enter the credentials. After you register you will receive a verification email from Hypnotes. Please open the email and click the verification link to complete the registration successfully.
After you register, please go to the login page and login with your credentials.
2. Add clients
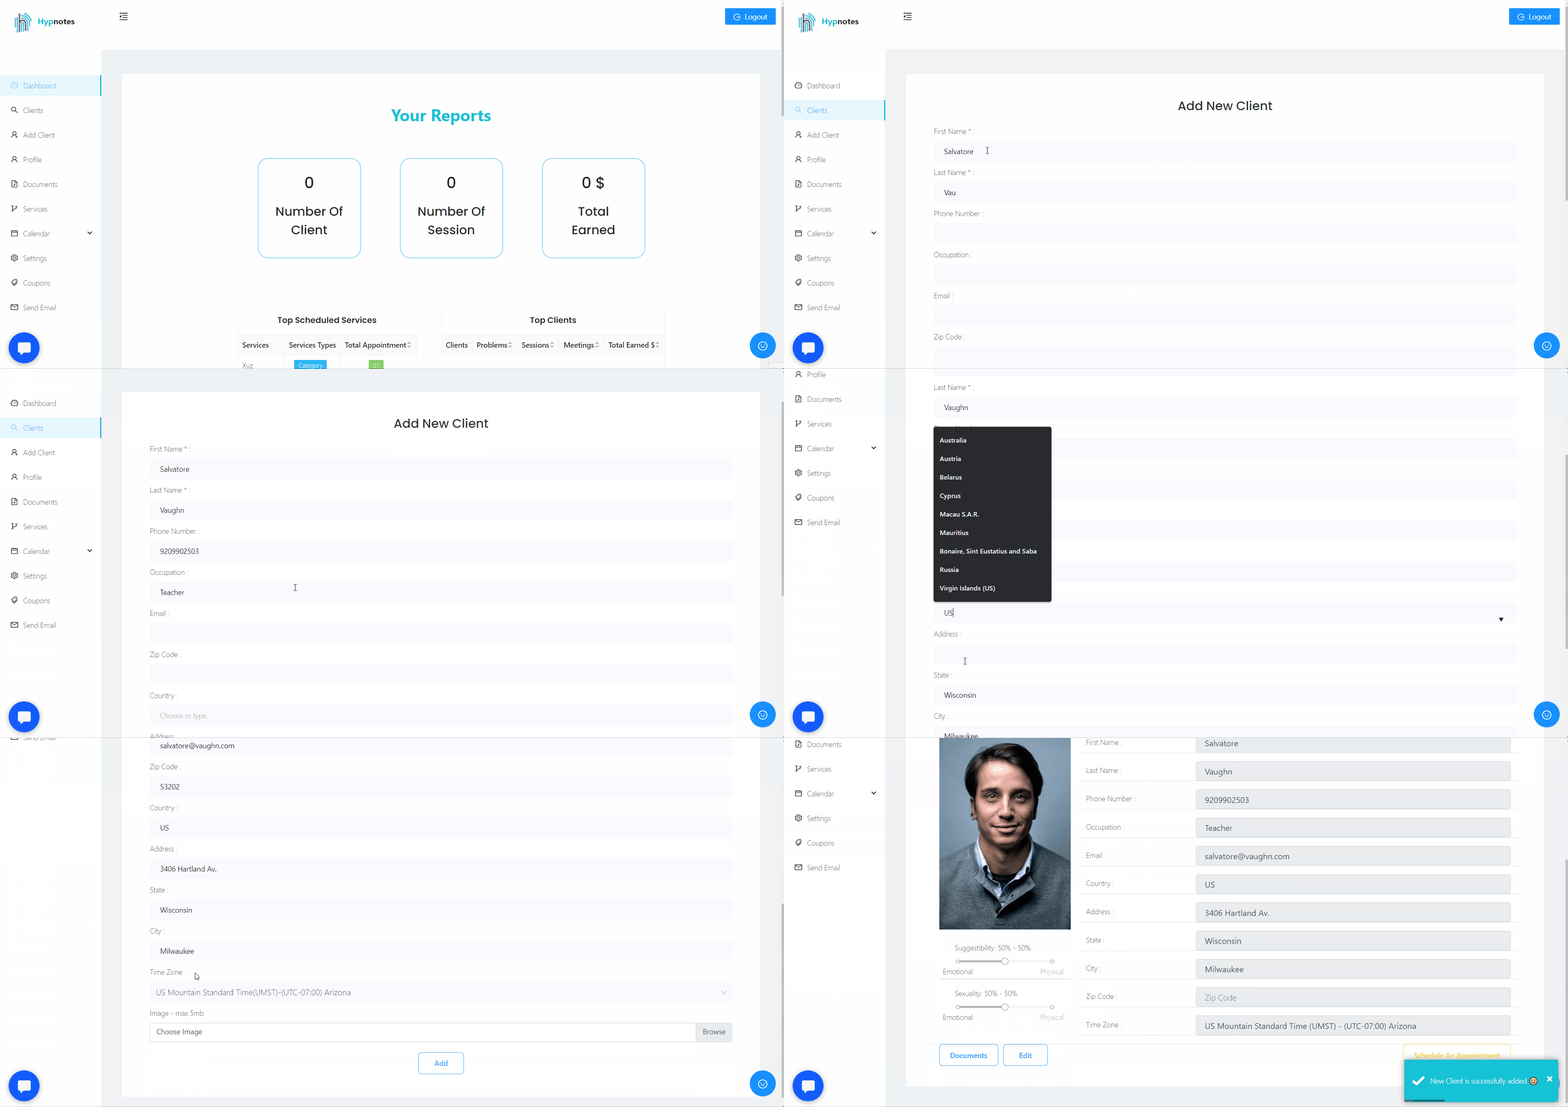
After you log in, go to the add client page and enter the client information. After you fill in the necessary information, just click on the 'Save' button at the bottom to complete the process.
3. Set up available times
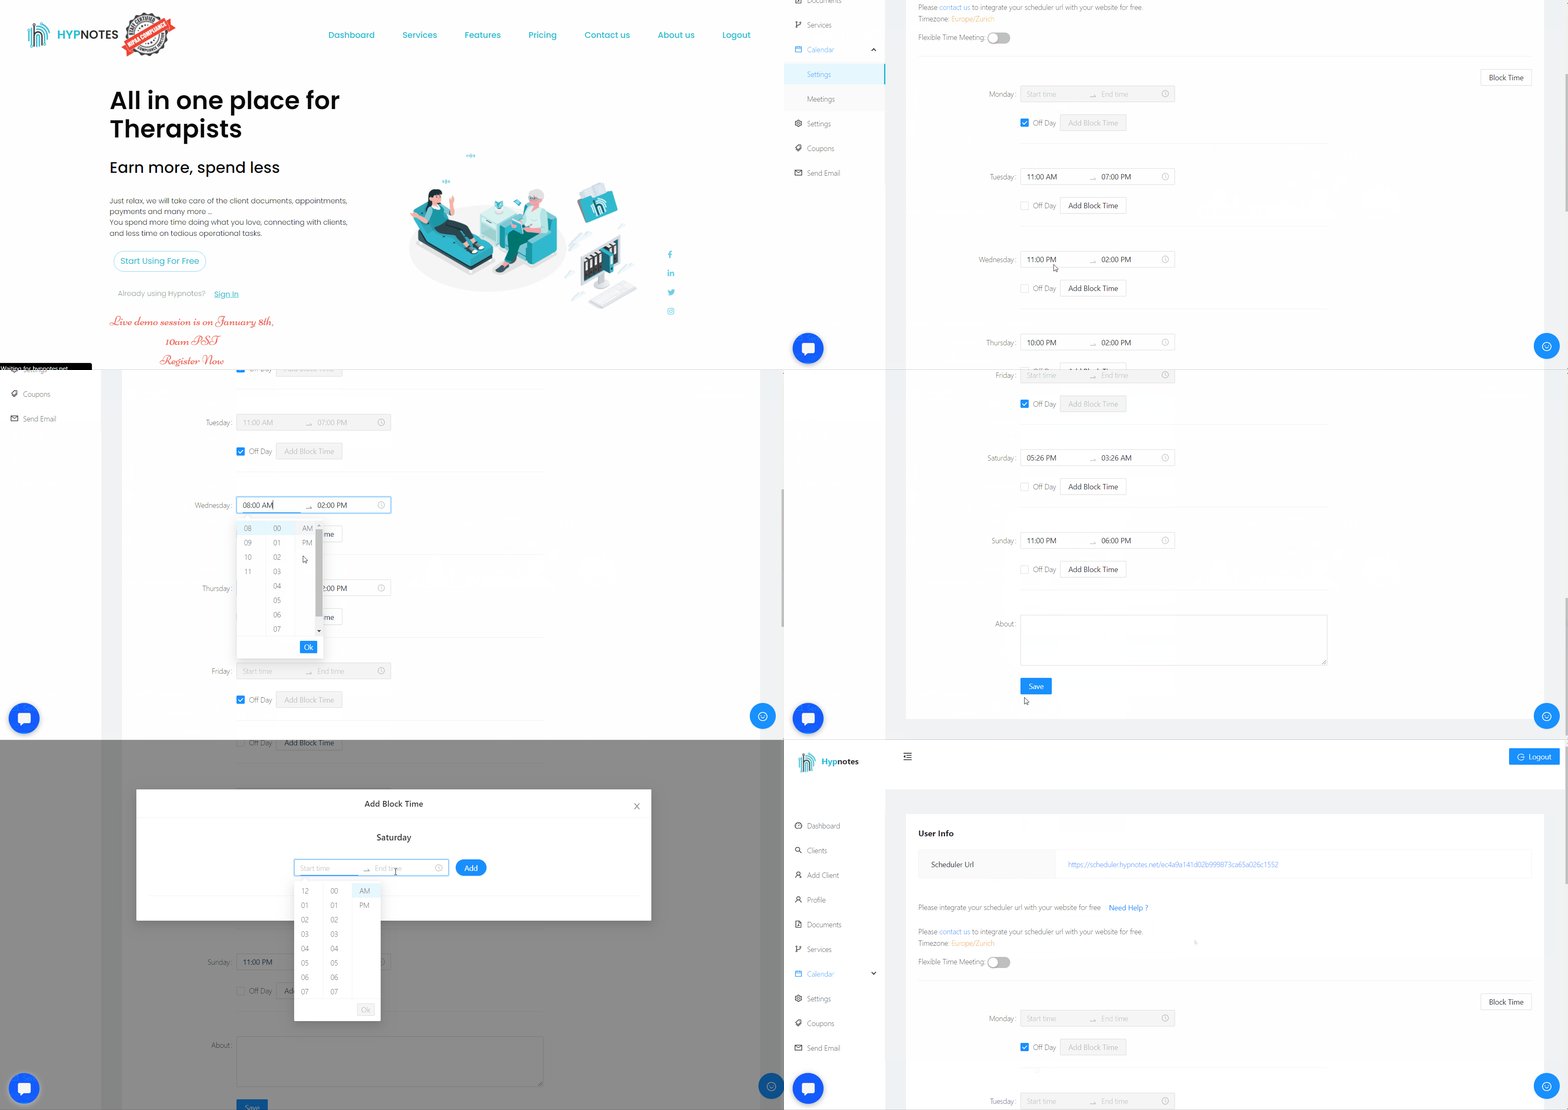
To set up your available times please go to the calendar/settings page.On this page, you will see days of the week. Please add available time for each day. You can add 'block times' by clicking on the 'Add block time' button. If you want to set any day as off day, you can check the an 'off day' checkbox.
4. Set up services
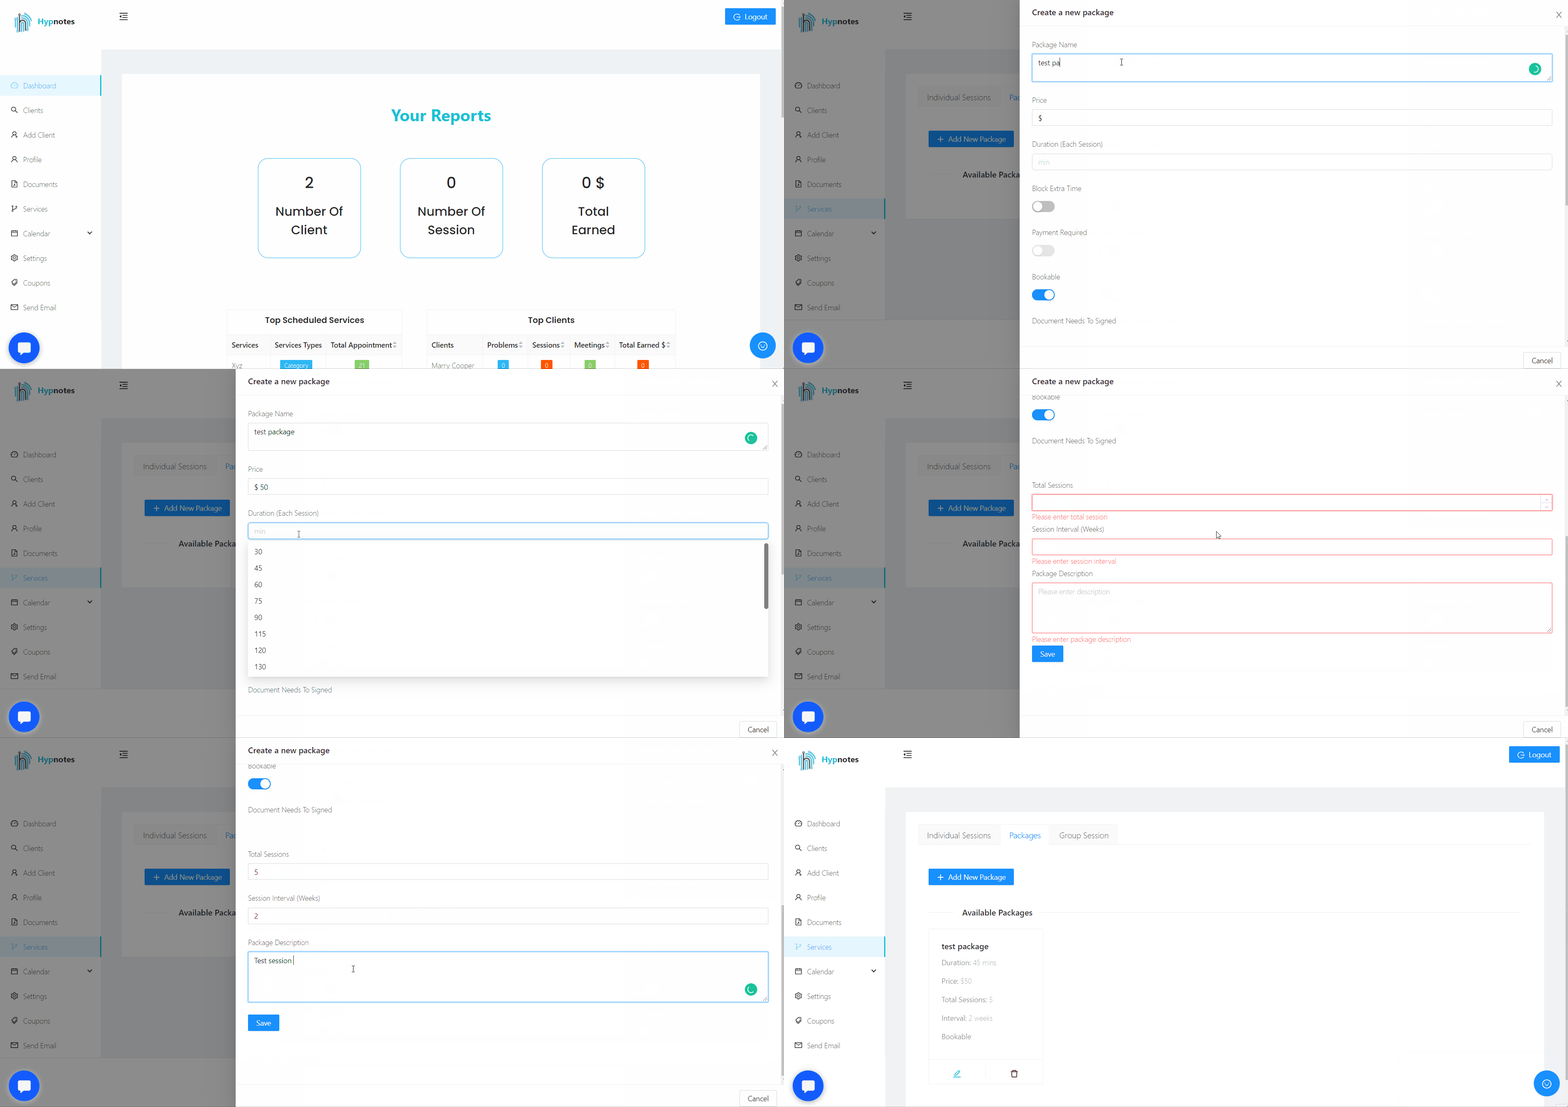
To set up services please go to the services page and add individual sessions, packages, group sessions. You can block time by using the 'Block Time Before Appointment' and 'Block Time After Appointment' fields. These fields allow you to have some time before and after appointments. These fields are optional.
If you select 'payment required', clients won't be able to book that service without making payment. If you want to turn on/off some services, you can use the 'bookable' checkbox. If 'bookable' is checked, then it means, that service will show on your scheduler.
Documents you added to the documents section will appear here and you can check any documents that needs to be signed or filled before the appointment schedule. We will collect the necessary signature and information for you.
You can also select locations where this service will be available.
5. Add documents
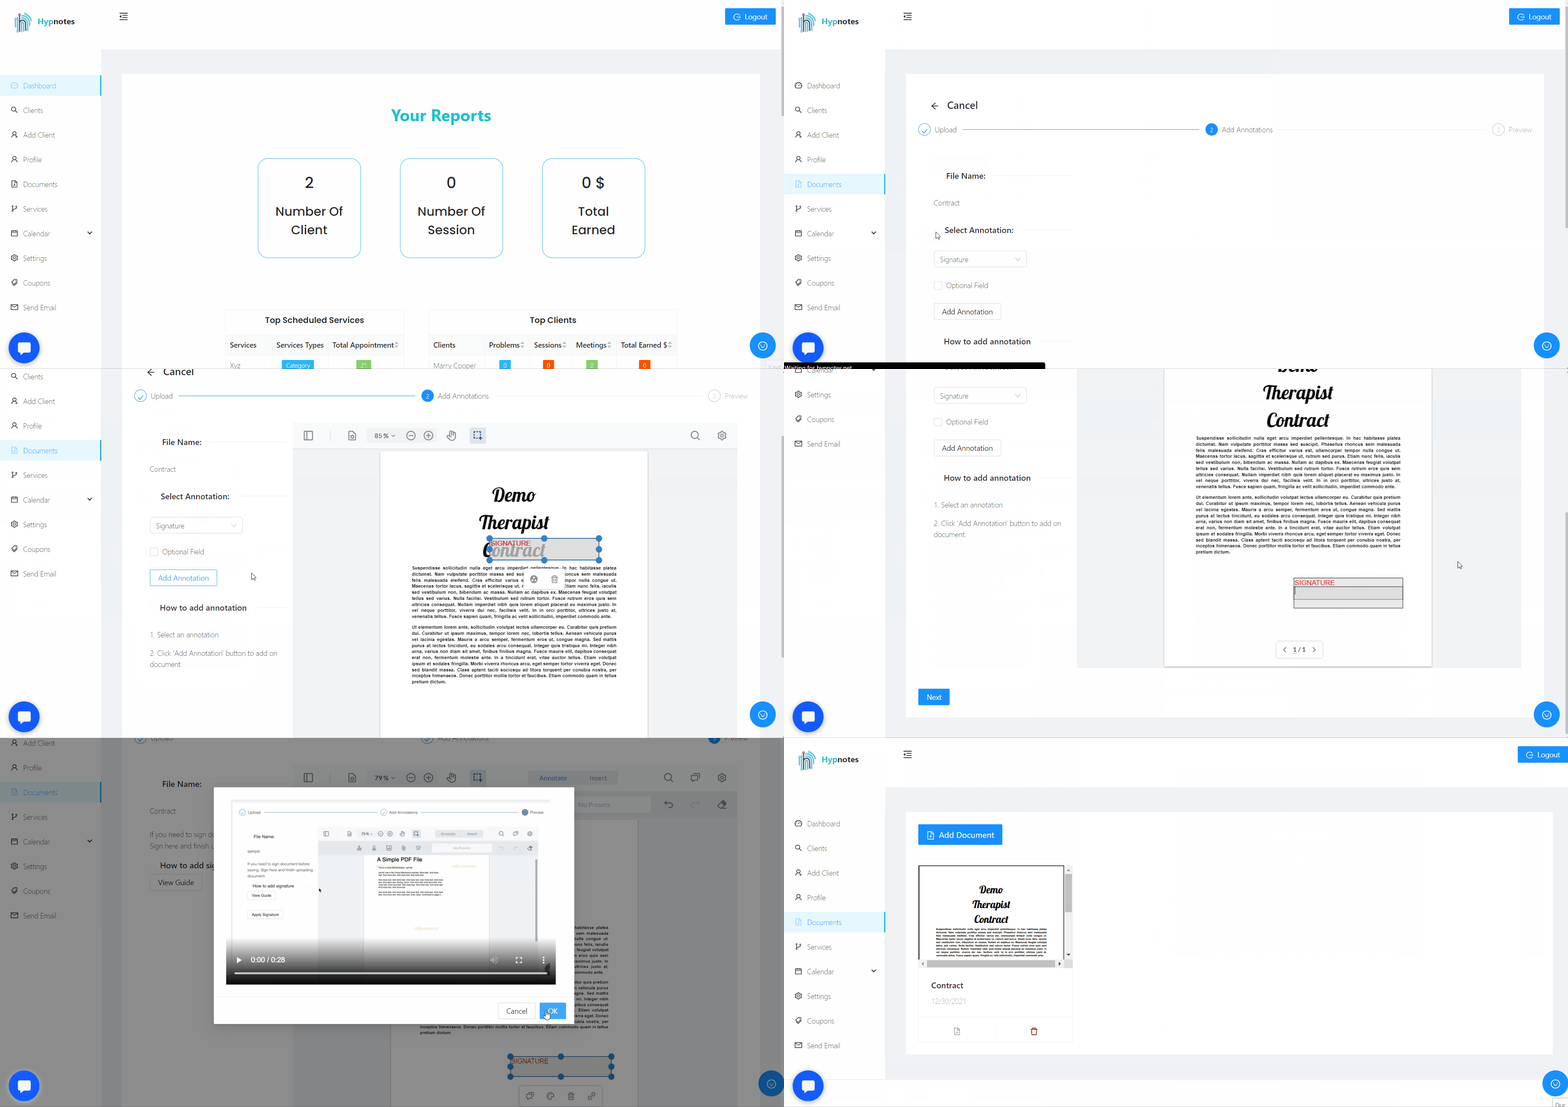
To add documents, please go to the documents page and click on the 'Add document' button. Select the document and add annotations. You will add the fields for your clients to be filled or signed during appointment scheduling. At the next step, you will add annotations for yourself.
After you add documents, we will get these documents signed by your clients during appointment scheduling. You will have a copy of the signed documents under the 'client info' section. Your client will also receive a copy of the signed documents.
6. Link your website
to Hypnotes schedular
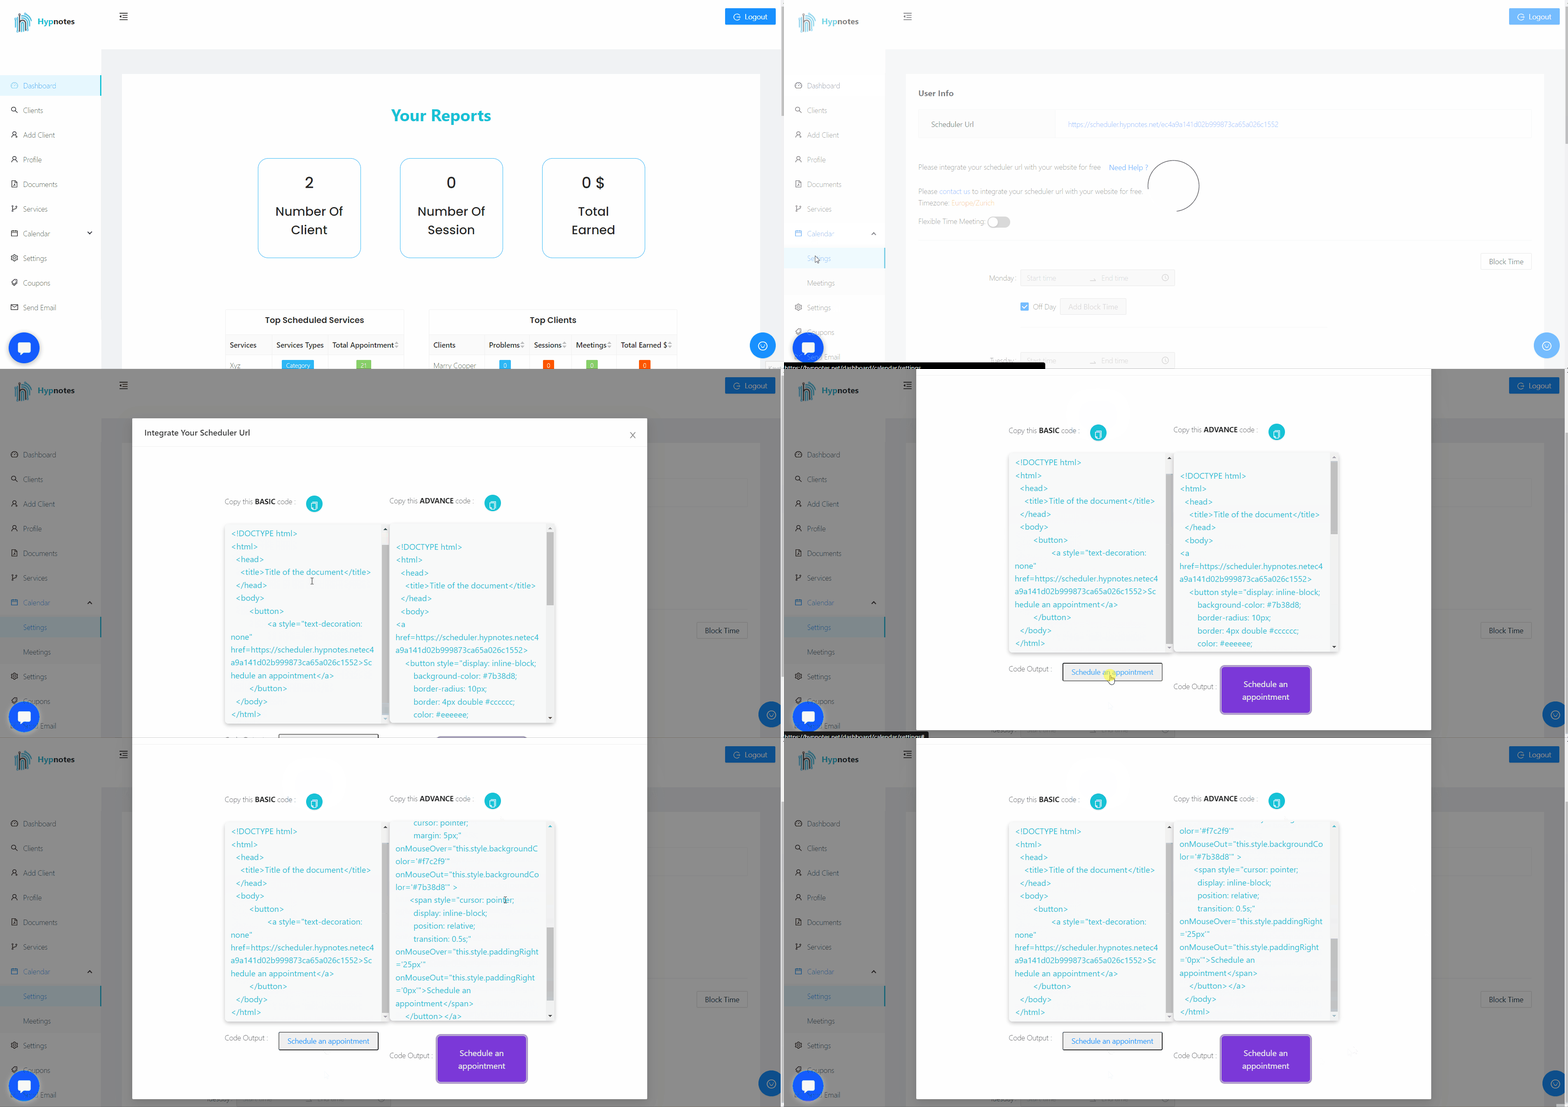
To link your website with your Hypnotes scheduler, please go to the calendar/settings page.. Click on the 'Need help?' button to see prepared code snippets for your convenience. Simply create a 'Schedule an appointment' button on your website and link it to your scheduler URL. If you want, you can contact us and we will do the integration for you for free.


